Back to Blog
August 1, 2024
Maintaining your dryer vent is essential for the efficiency of your dryer and the safety of your home. Clogged dryer vents can lead to longer drying times, increased energy bills, and even fire hazards. Many homeowners overlook this critical maintenance task, not realizing the potential risks and costs associated with neglecting their dryer vents.
A clean dryer vent ensures your appliance runs smoothly, reduces wear and tear on your clothes, and lowers the risk of a dryer-related fire. In this comprehensive guide, we’ll walk you through the steps on how to clean a dryer vent, ensuring your appliance operates at its best while keeping your home safe.
Why Clean Your Dryer Vent?
Regular cleaning of your dryer vent is crucial for several reasons:
- Safety: Lint buildup is a common cause of dryer fires. Keeping the vent clean reduces this risk.
- Efficiency: A clean vent allows your dryer to work more efficiently, reducing drying time and energy consumption.
- Longevity: Regular maintenance can extend the life of your dryer.
Tools You’ll Need
Before you begin, gather the following tools:
- Vacuum cleaner with a hose attachment
- Dryer vent brush kit
- Screwdriver
- Dryer vent cleaning kit
- Flashlight
Step-by-Step Guide to Cleaning Your Dryer Vent
1. Unplug the Dryer
Safety first! Ensure your dryer is unplugged from the electrical outlet to avoid any accidents.
2. Access the Dryer Vent
Move the dryer away from the wall to access the vent. Depending on your dryer model, you may need to unscrew a vent cover to reach the duct.
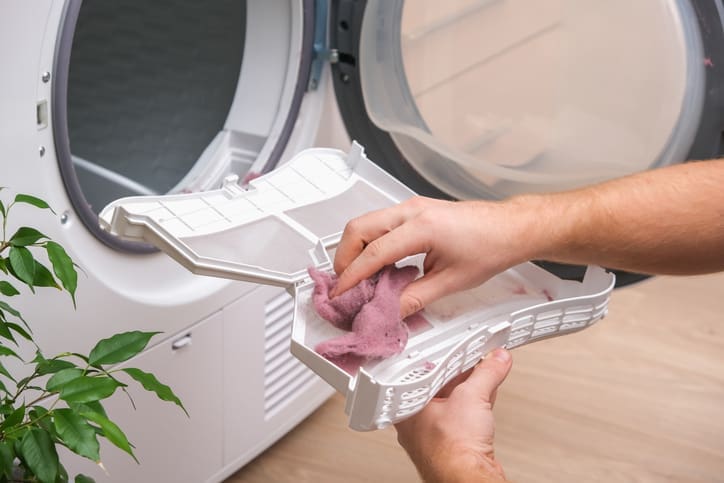
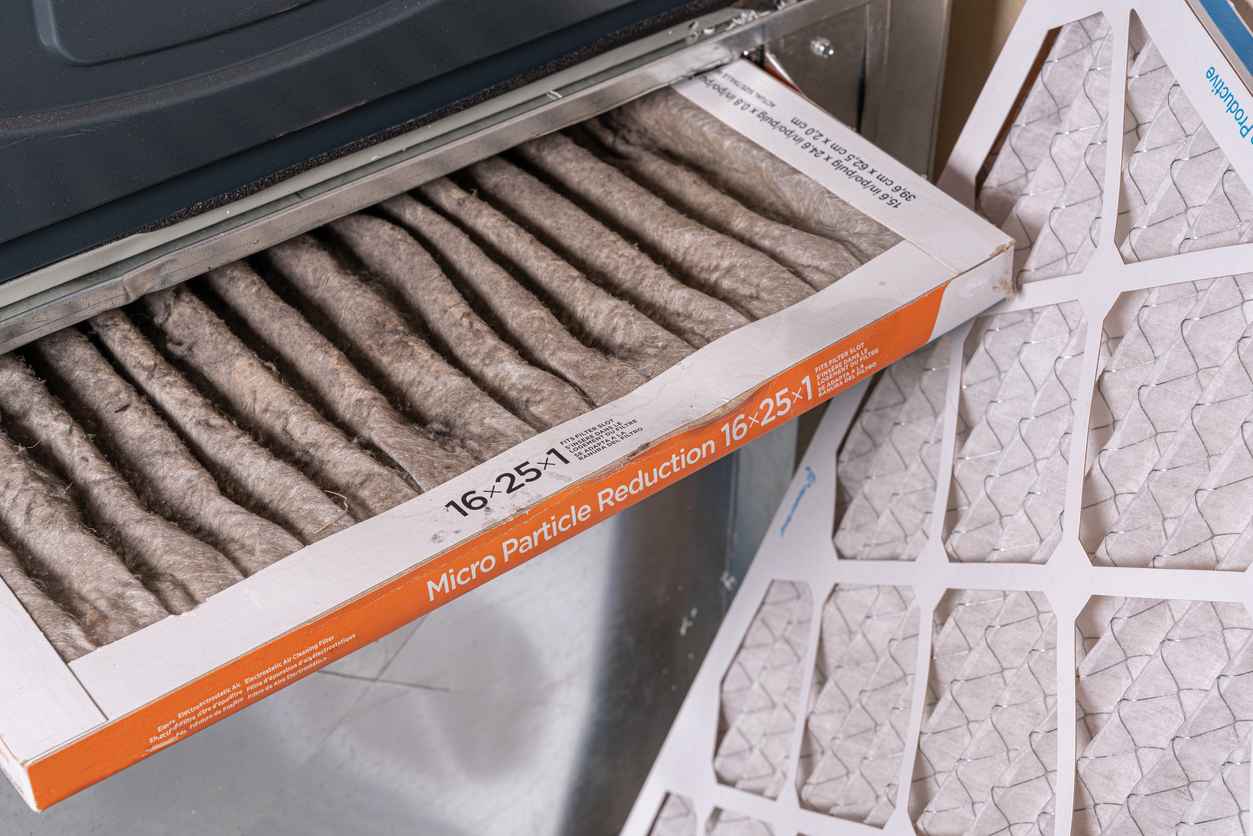
3. Remove Lint from the Lint Trap
Start by cleaning the lint trap. Remove any visible lint and use a vacuum cleaner to suck up any remaining debris.
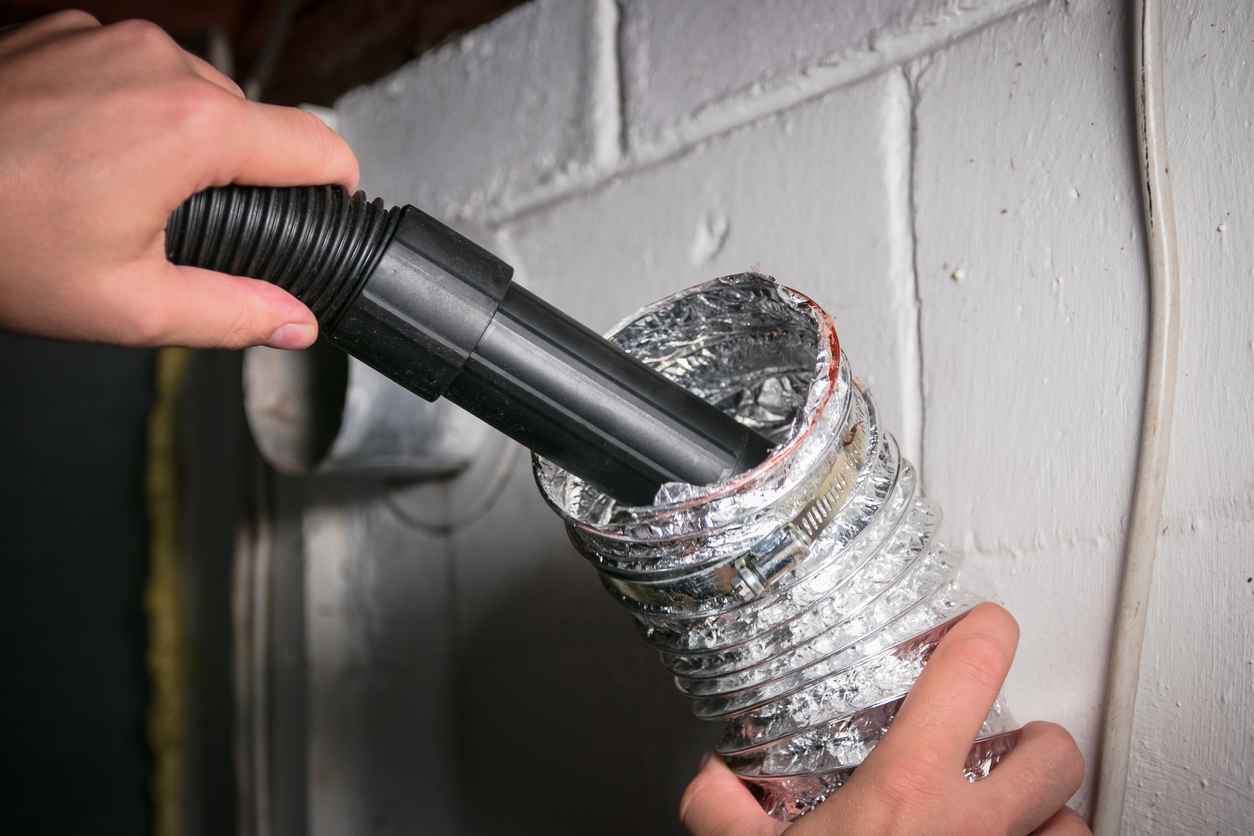
4. Clean the Dryer Vent Hose
Detach the dryer vent hose from the wall and the dryer. Use your hands or a brush to remove lint from the hose. A dryer vent cleaning kit can be particularly useful for this task.
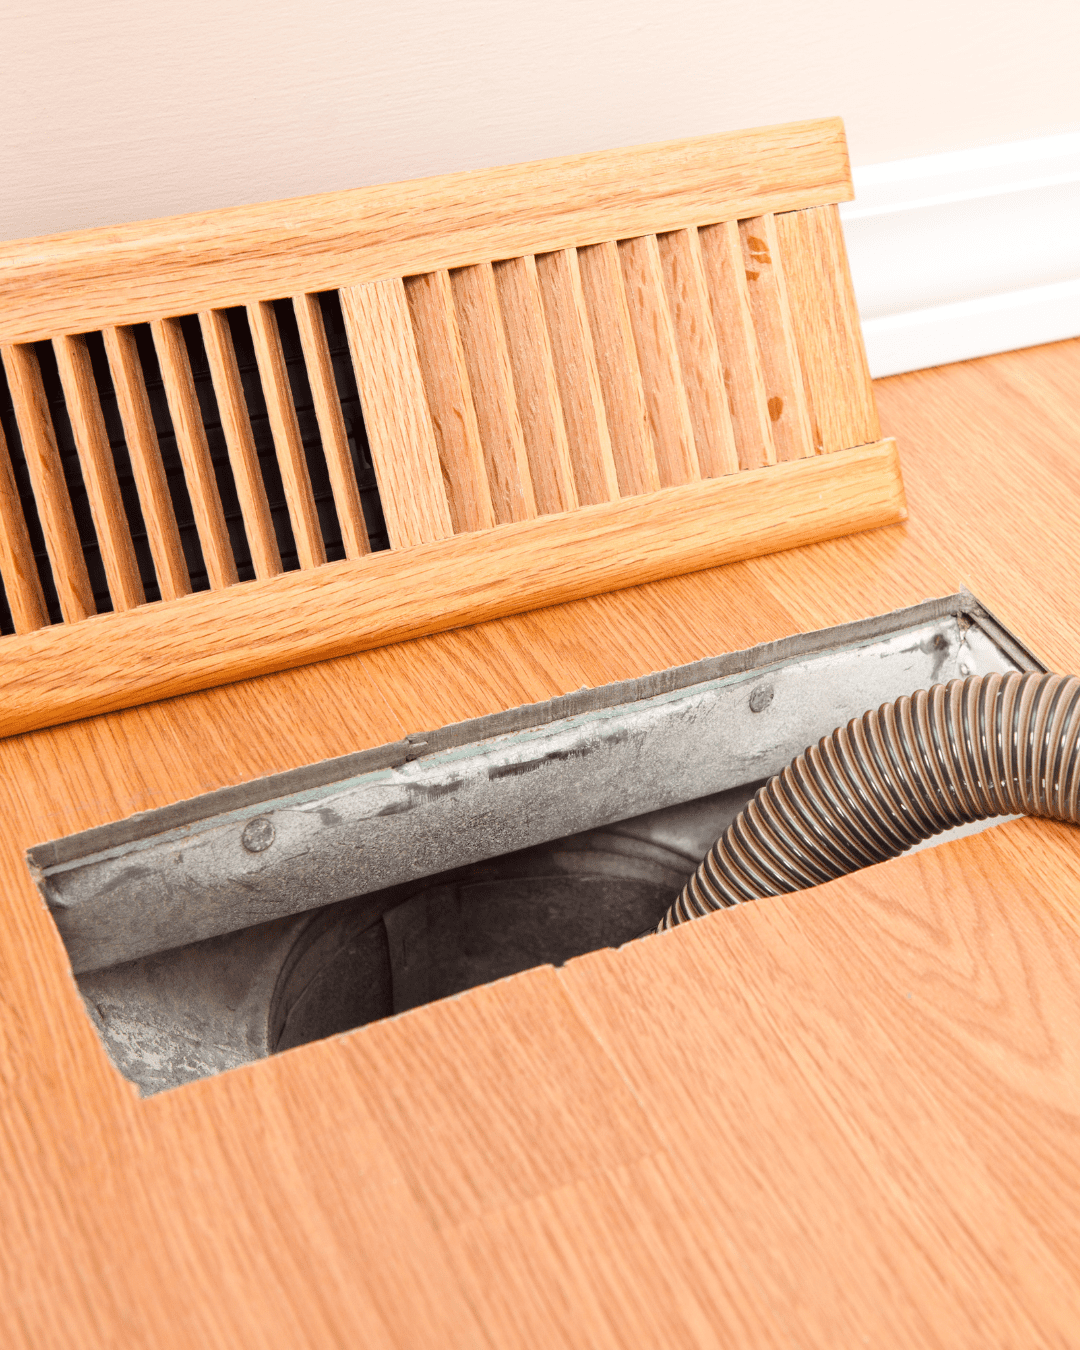
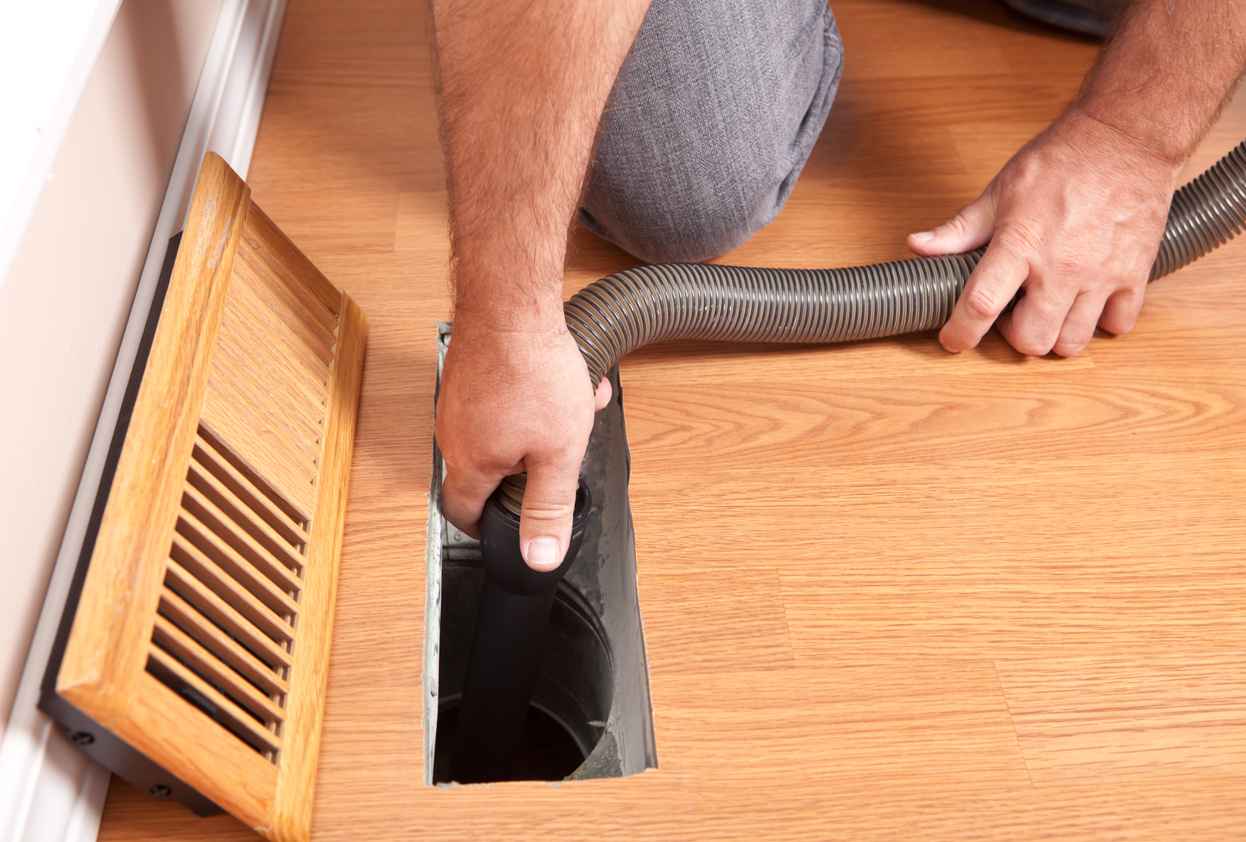
5. Clean the Vent in the Wall
Insert the dryer vent brush into the vent opening in the wall. Twist and push the brush to remove lint buildup. You can use a flashlight to check for any remaining lint. Follow up with a vacuum cleaner to ensure the vent is thoroughly clean.
6. Reattach the Dryer Vent Hose
Once the vent and hose are clean, reattach the hose to the dryer and the wall. Ensure the connections are secure to prevent any air leaks.
7. Final Check
Plug the dryer back in and push it back into place. Turn on the dryer and check the airflow from the outside vent to ensure it’s unobstructed.
Signs Your Dryer Vent Needs Cleaning
Regular cleaning is essential, but it’s also important to recognize when your dryer vent might need immediate attention:
- Clothes take longer to dry
- The dryer feels unusually hot to the touch
- A burning smell during operation
- The vent flap doesn’t open properly
Professional Dryer Vent Cleaning Services
While cleaning your dryer vent is a task you can handle on your own, there are times when professional help is needed. If you notice persistent issues despite regular cleaning or if you’re unsure about how to perform the cleaning safely, it’s best to call in experts.
Call GreenPro Cleaning & Restoration on Long Island
At GreenPro Cleaning & Restoration on Long Island, we specialize in professional dryer vent cleaning. Our experienced team uses advanced tools to ensure your dryer vent is clean, safe, and efficient. Contact us today to schedule a service and keep your home safe and your dryer running smoothly.
Recent News
Vacation Checklist: Don’t Forget Your Dryer Vent!
May 30, 2025
Why Spring Is the Perfect Time for Cleaning Your Air Ducts
February 28, 2025

What is Air Duct Cleaning?
November 11, 2024
How Often Should You Change Your Furnace Filter?
March 11, 2024
Is Air Duct Cleaning Worth It?
December 1, 2023
Why Dryer Vent Cleanings Should Be Part of Your Home Maintenance Routine
September 7, 2023